출처:Object Detection 101 Course - Including 4xProjects | Computer Vision
다시한번 유튜브영상보며 yolo8버전 따라해보기 . 유명한만큼 그만큼 따라하기도 쉬워졌다.
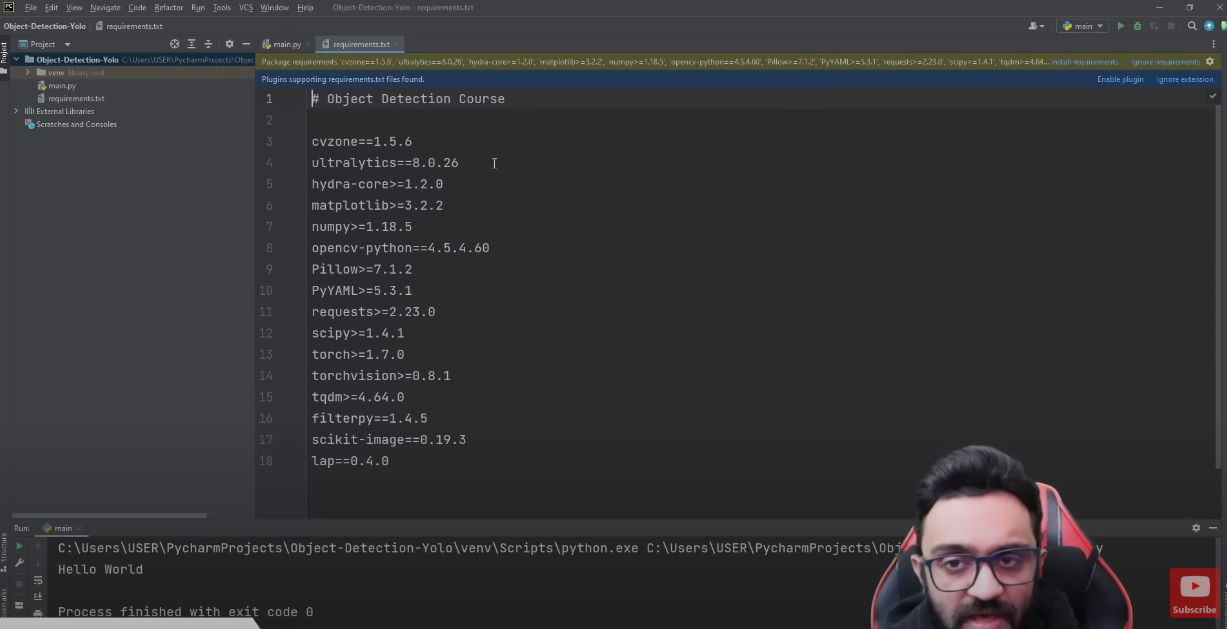
우선 yolo를 구동시키는데 필요한 requirment (dependency)들을 불러오는데 나는 리눅스에서 conda를 사용해 virtual env를 이용했다. 이번에 처음 이용해보는데 간편. virtual env 라함은 가상환경을 만들어 한 os에 여러가지 다른 버전의 라이브러리를 각 수요에맞게 사용가능하게한다. 간단한 커맨드 정리.
가상환경 만들기 conda create –n 가상환경이름 python=3.7
가상환경 활성화 conda activate 가상환경이름
가상환경 비활성화 conda deactivate 가상환경이름
가상환경에 패키지 설치 conda install 패키지이름
가상환경 리스트 확인 conda env list
가상환경 삭제 conda env remove -n 가상환경이름

쉽게 bounding box와 text, confidence를 표현해줄수있다!
from ultralytics import YOLO
import cv2
import cvzone
import math
import time

cap = cv2.VideoCapture(0)  # For Webcam
# cap.set(3, 1280)
# cap.set(4, 720)
#cap = cv2.VideoCapture("../Videos/motorbikes.mp4")  # For Video


model = YOLO("../Yolo-Weights/yolov8l.pt")

classNames = ["person", "bicycle", "car", "motorbike", "aeroplane", "bus", "train", "truck", "boat",
              "traffic light", "fire hydrant", "stop sign", "parking meter", "bench", "bird", "cat",
              "dog", "horse", "sheep", "cow", "elephant", "bear", "zebra", "giraffe", "backpack", "umbrella",
              "handbag", "tie", "suitcase", "frisbee", "skis", "snowboard", "sports ball", "kite", "baseball bat",
              "baseball glove", "skateboard", "surfboard", "tennis racket", "bottle", "wine glass", "cup",
              "fork", "knife", "spoon", "bowl", "banana", "apple", "sandwich", "orange", "broccoli",
              "carrot", "hot dog", "pizza", "donut", "cake", "chair", "sofa", "pottedplant", "bed",
              "diningtable", "toilet", "tvmonitor", "laptop", "mouse", "remote", "keyboard", "cell phone",
              "microwave", "oven", "toaster", "sink", "refrigerator", "book", "clock", "vase", "scissors",
              "teddy bear", "hair drier", "toothbrush"
              ] #This is a predefined class array.
prev_frame_time = 0
new_frame_time = 0

while True:
    new_frame_time = time.time()
    success, img = cap.read()
    results = model(img, stream=True)
    for r in results:
        boxes = r.boxes
        for box in boxes:
            # Bounding Box
            x1, y1, x2, y2 = box.xyxy[0]
            x1, y1, x2, y2 = int(x1), int(y1), int(x2), int(y2)
            # cv2.rectangle(img,(x1,y1),(x2,y2),(255,0,255),3)
            w, h = x2 - x1, y2 - y1
            #show bounding box
            cvzone.cornerRect(img, (x1, y1, w, h))
            # Confidence
            conf = math.ceil((box.conf[0] * 100)) / 100
            # Class Name
            cls = int(box.cls[0])
            #print text on the rect
            cvzone.putTextRect(img, f'{classNames[cls]} {conf}', (max(0, x1), max(35, y1)), scale=1, thickness=1)

    fps = 1 / (new_frame_time - prev_frame_time)
    prev_frame_time = new_frame_time
    print(fps)

    cv2.imshow("Image", img)
    cv2.waitKey(1)
간단한 코드예제인데 동영상에서 설명해주는것과 딥러닝에대해 배운것들이 매치되며 각 역할이 어떤것들을 하게되는지 퍼즐이 짜맞추어진다.
* 여기서 cvzone은 위에서 상업적으 무료배포하는 회사에서 만든건데 (아마 자기내 코스 수강하라는듯) 대충 쉽게 코드를 짤수있게해준다.
'Robotics Engineer > Robot Perception' 카테고리의 다른 글
| [Ourdoor robot] Starship 배달로봇 위치 추정? (0) | 2024.04.21 |
|---|---|
| [vision] 2탄: CNN 이라는게 무엇인지 대략 알아보기 (1) | 2023.01.09 |
| [paper review]Current State of the Art in Object Detection for Autonomous Systems (1) | 2023.01.05 |
| [paper review] A Survey on Object Detection and Tracking Methods(2014) (0) | 2022.12.30 |
| [Vision] 1편: 모바일 로봇 비전 공부를 시작함에 앞서(overview) (1) | 2022.12.27 |


댓글